
Your Machine is Grumpy? Bad Digitizing is Likely the Cause
Introduction
You sit down at your embroidery machine excited to stitch a fresh design. You hoop the fabric, load the file, and press start. Then the nightmare begins. The needle snaps. Thread bunches up underneath. The machine makes a grinding noise. Or worse, it just stops and stares at you with an error code. Sound familiar? Most people blame the machine. They think it is old, cheap, or cursed. But here is the truth ninety percent of the time: bad digitizing causes the chaos. Your machine is not grumpy. It is just trying to follow terrible instructions. The good news? You can fix this without buying a new machine. You just need to Digitize Designs for Happy Embroidery Machine results. Let me show you exactly how.
What Bad Digitizing Looks Like on Your Machine
Bad digitizing does not always look bad on a computer screen. That is the sneaky part. You might open the file on your software and see a perfectly pretty preview. But the moment you run it on an actual machine, disaster strikes. Watch for these signs. Thread breaks every few seconds. That usually means your stitch density is way too high. The needle hits the same spot too many times. Your fabric puckers like a dried prune. That happens when pull compensation is wrong or you have no underlay. You see gaps between colored sections. That is poor pathing where the machine jumps instead of sewing continuously. Your design comes out stretched or squashed. That means you digitized at one size but stitched at another without adjusting settings. Your machine runs incredibly slow or sounds like it is struggling. That is too many stitch points confusing the processor. If any of this sounds familiar, keep reading. The fix is easier than you think.
The Number One Mistake That Makes Machines Cry
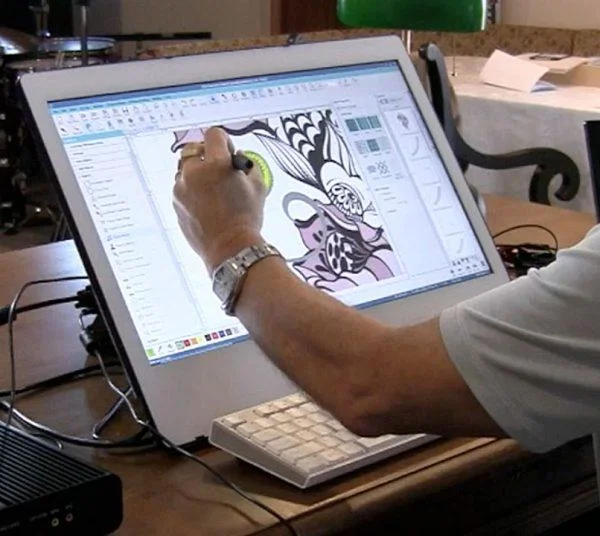
I see this mistake constantly. People take a logo full of tiny details, thin lines, and twelve colors, then they auto-digitize it and expect perfection. Auto-digitize is a starting point, not a finish line. The software does not understand your fabric. It does not know if you are stitching on stretchy polyester or stiff denim. It does not know if your machine runs fast or slow. It just guesses. And it guesses wrong often. So the number one fix is simple: stop trusting auto-digitize blindly. Use it to get a rough map, then go in manually and adjust. Change those skinny lines to thicker satin stitches. Reduce those twelve colors down to four or five. Delete that tiny text that measures two millimeters tall. Your machine will thank you with smooth, quiet stitching.
Fix Your Stitch Density or Snap Snap Snap
Stitch density controls how close each stitch lands to its neighbor. Think of it like this. If you pack stitches too tight, the needle keeps piercing the same holes. The fabric weakens, the thread frays, and snap goes your needle. If you space stitches too far apart, you see the fabric peeking through like a bald spot. The sweet spot depends on your material. For caps and thick twill, use a density of 0.45 to 0.5 millimeters. For t-shirts and thin cotton, use 0.4 to 0.45 millimeters. For towels or fleece, use 0.5 to 0.55 millimeters because the fabric eats thread. Open your digitizing software. Find the density setting. It might be called stitch spacing or thread count. Adjust it based on your fabric. Then test on a scrap piece. If the thread still snaps, loosen the density by 0.05 millimeters. If you see gaps, tighten it by 0.05 millimeters. Small changes make a big difference.
Pull Compensation Stops the Shrinking Act
Here is something your software does not tell you. When the needle pulls thread through fabric, the fabric pulls back slightly. It shrinks. So your nice round circle comes out looking like an oval. Your straight line comes out wavy. Pull compensation fixes that by making your design slightly wider or taller before the machine sews it. Most digitizing software has a pull comp slider. Set it between 0.2 and 0.4 millimeters for most woven fabrics. Set it higher, around 0.5 to 0.7 millimeters, for knits and stretchy materials. What does that mean in real terms? The software tells the needle to sew a shape that is actually a tiny bit bigger than you want. When the fabric pulls back, it lands exactly at the correct size. Without pull comp, your design will always come out smaller and distorted. Add it. Test it. Watch your machine smile.
Underlay Is Not Optional
I cannot believe how many people skip underlay. Underlay is a base layer of stitches that goes down before your top design. It anchors the fabric, prevents shifting, and stops your top stitches from sinking into fluffy material. Imagine building a house on mud without a foundation. That is what sewing without underlay looks like. Your machine will struggle, your fabric will pucker, and your design will look sunken and sad. Most software offers several underlay types. A basic edge run underlay goes along your outline first. A center run underlay stitches straight down the middle of thick areas. A zigzag underlay adds extra grip for stretchy fabrics. Turn underlay on by default. Choose edge run for most jobs. Add a center run for large filled areas over 1.5 inches wide. Your machine will run smoother, and your final design will sit flat and proud.
Pathing Order Saves Time and Thread Breaks
Pathing order means the sequence your machine follows from one part of the design to the next. Bad pathing sends the needle jumping all over the place. It sews a tiny piece in the top left, then jumps to the bottom right, then jumps back up. Every jump means a thread trim or a long loose travel stitch. That wastes time, wastes thread, and increases the chance of tangles. Good pathing groups similar colors together. It sews continuously from one area to the next without long jumps. Open your software and look for a pathing or sequencing tool. Reorder your design elements so the needle moves like a person reading a book: left to right, top to bottom. Keep jumps short, ideally under one inch. If you need a long jump, add a trim command so the machine cuts the thread and moves cleanly. Your machine will run faster and break thread far less often.
Test Before You Trust Every Time
You fixed your density. You added pull comp. You turned on underlay. You optimized the pathing. Now do not just run a full production batch. Test first. I do not care if you have digitized a hundred designs before. Test. Every. Time. Grab a piece of scrap fabric that matches your final material. Hoop it properly, not loose or sagging. Run the design at normal speed. Watch the needle like a hawk. Does it travel smoothly or hesitate at certain spots? Those spots need more adjustment. Does the thread color match what you picked? Sometimes software swaps colors without telling you. Does the finished design look clean and flat? If you see puckering, increase your pull compensation slightly. If you see gaps, tighten your density slightly. Run a second test. Keep testing until the machine runs quietly and the finished product looks professional. Only then move to your good fabric.
When to Blame the Machine (Not the Digitizing)
Sometimes it really is the machine. Let me be fair. If you have tried all these fixes and your machine still acts grumpy, check a few hardware things. Is your needle bent or dull? Replace it after every eight hours of stitching. Is your bobbin wound unevenly? Rewind it. Is your tension way off? Run a tension test on plain woven fabric. Is your hoop warped or cracked? Plastic hoops break over time. Is your machine dirty? Lint builds up inside and causes errors. Clean it out with a small brush. If you address all the digitizing issues first, then the hardware issues, and your machine still fights you, call a technician. Some machines have internal timing or motor problems. But I promise you, nine times out of ten, bad digitizing causes the tantrum, not a broken machine.
Conclusion
Your embroidery machine is not your enemy. It does not wake up hoping to ruin your day. It follows your commands exactly as written. So when those commands are bad, the results are bad. You now know the specific fixes that turn a grumpy machine into a happy one. Lower your stitch density for thick fabrics. Add pull compensation to stop shrinking. Turn on underlay for every design. Optimize your pathing order to reduce jumps. Test on scrap fabric before every production run. And when nothing works, check your needle and bobbin. Start applying these fixes today. Pick one design that has failed before. Redigitize it using these rules. Run a test. I promise you will see a difference. Happy stitching awaits you.